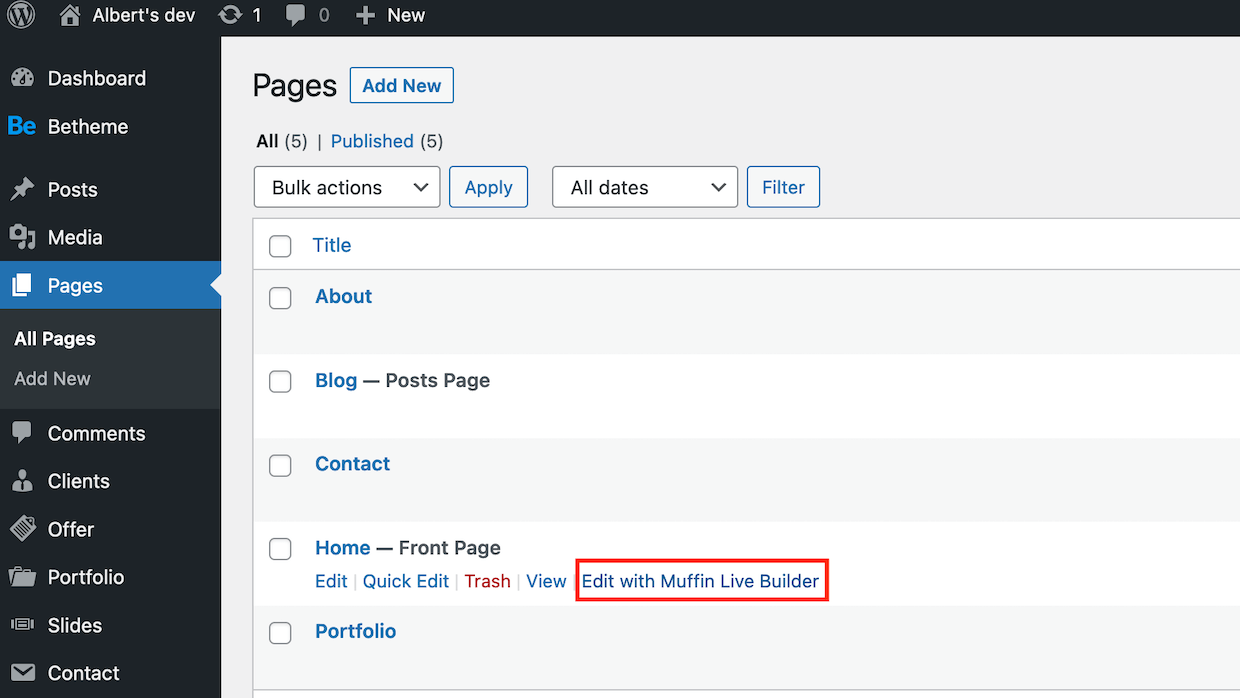
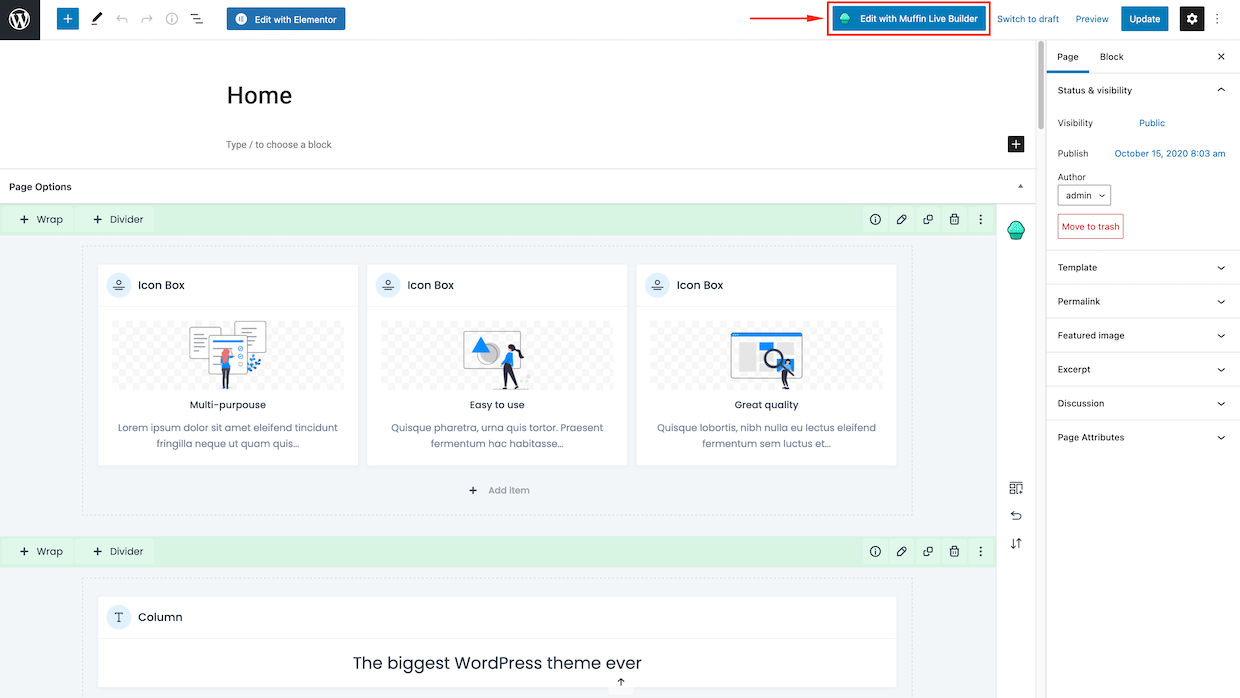
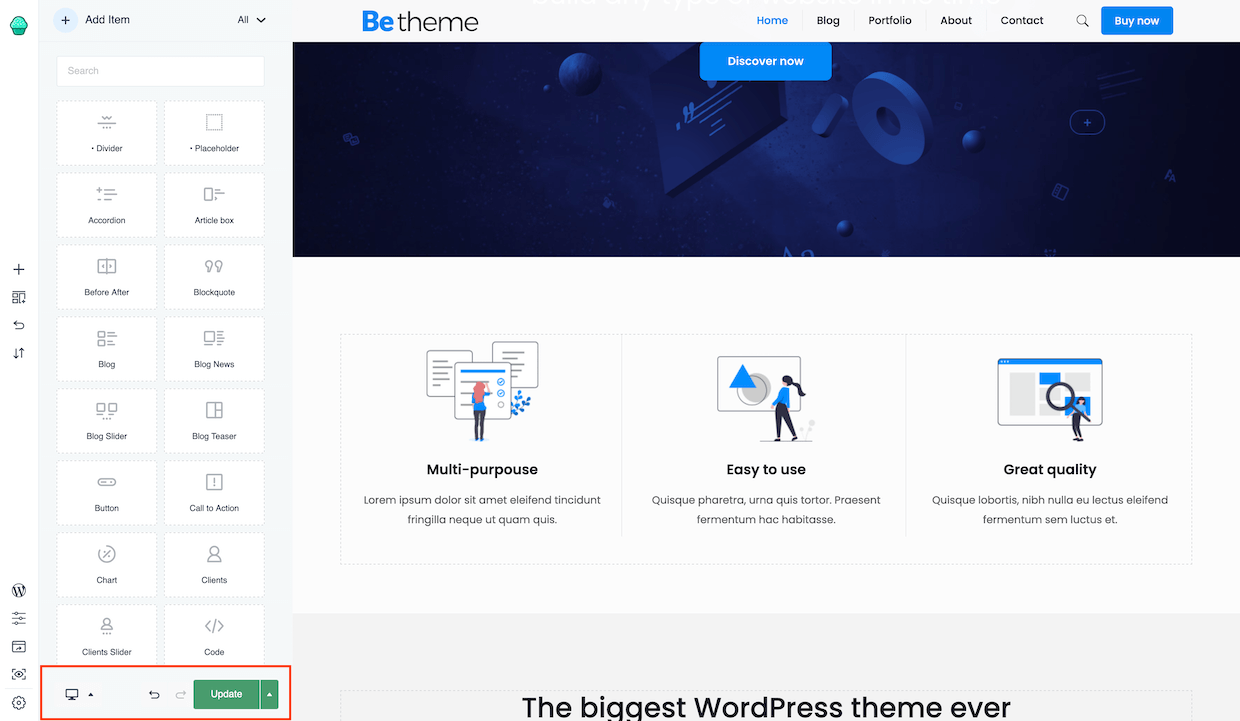
An overview
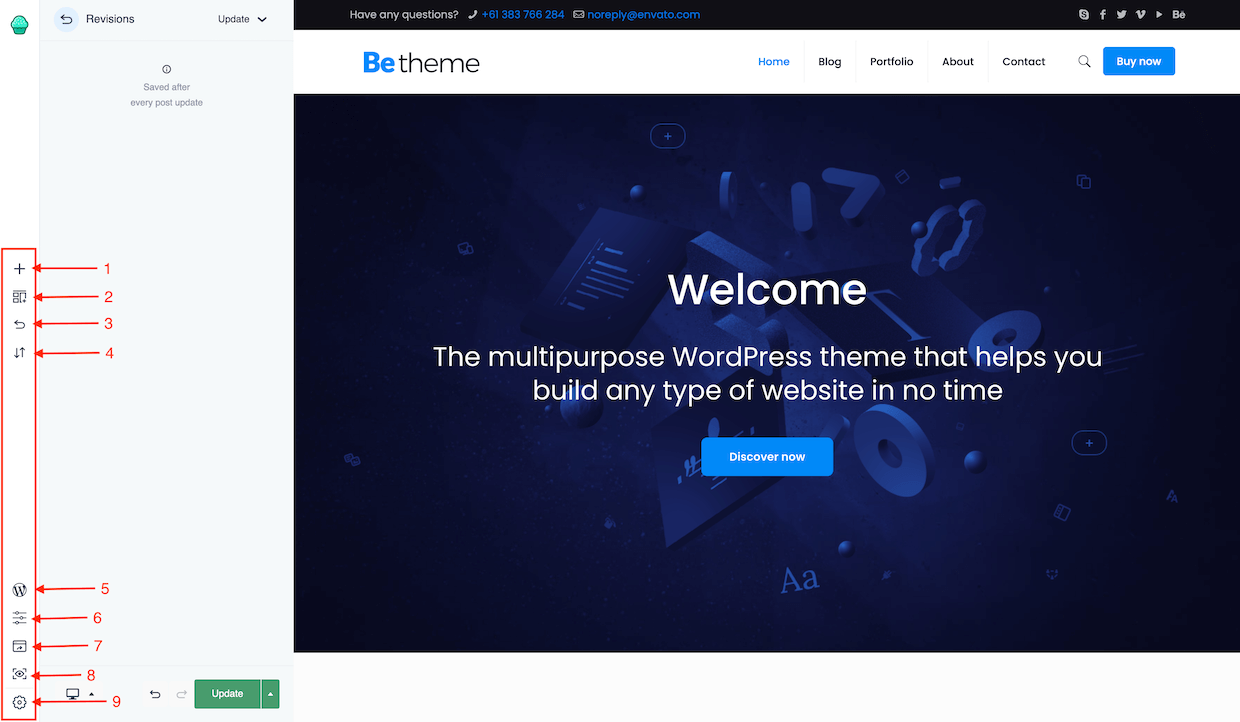
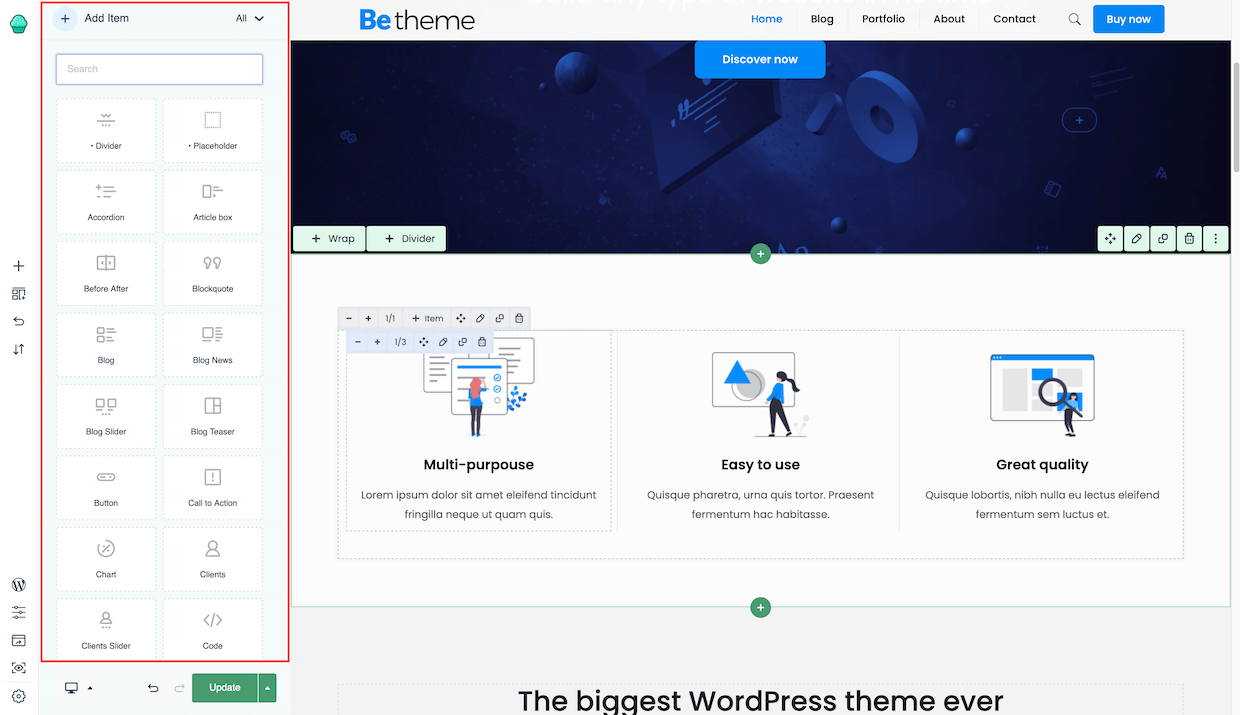
- + - after click all elements will load in the panel on the right side
- Pre-built sections - here, you will find plenty of prebuilt blocks ready to use on click. Blocks have been divided into groups so that finding the right one is as easy as possible.
- Revisions - 4 types of revision are available for even greater security
- Import / Export - here, you can import or export the content, import page templates you have created before or generate additional content for SEO purposes and plugins like Yoast
- Back to WordPress - this button will take you to the main dashboard of WP
- Page Options - all options for particular page like: sliders, sidebars and much more...
- View Page - this button will open page in new window as it is
- Preview - works similar as default WP peview but for BeBuilder content that has not been saved or published
- Settings - set of options for BeBuilder
- Responsive mode, this option let you switch between desktop, mobile & tablet for even greater control of the layout
- Redo & Undo, if you did a mistake and want to go back to previous step, simply use one of these buttons
- Update, just like the default WP button, it let you update, publish or save as draft
