How to add custom fonts?
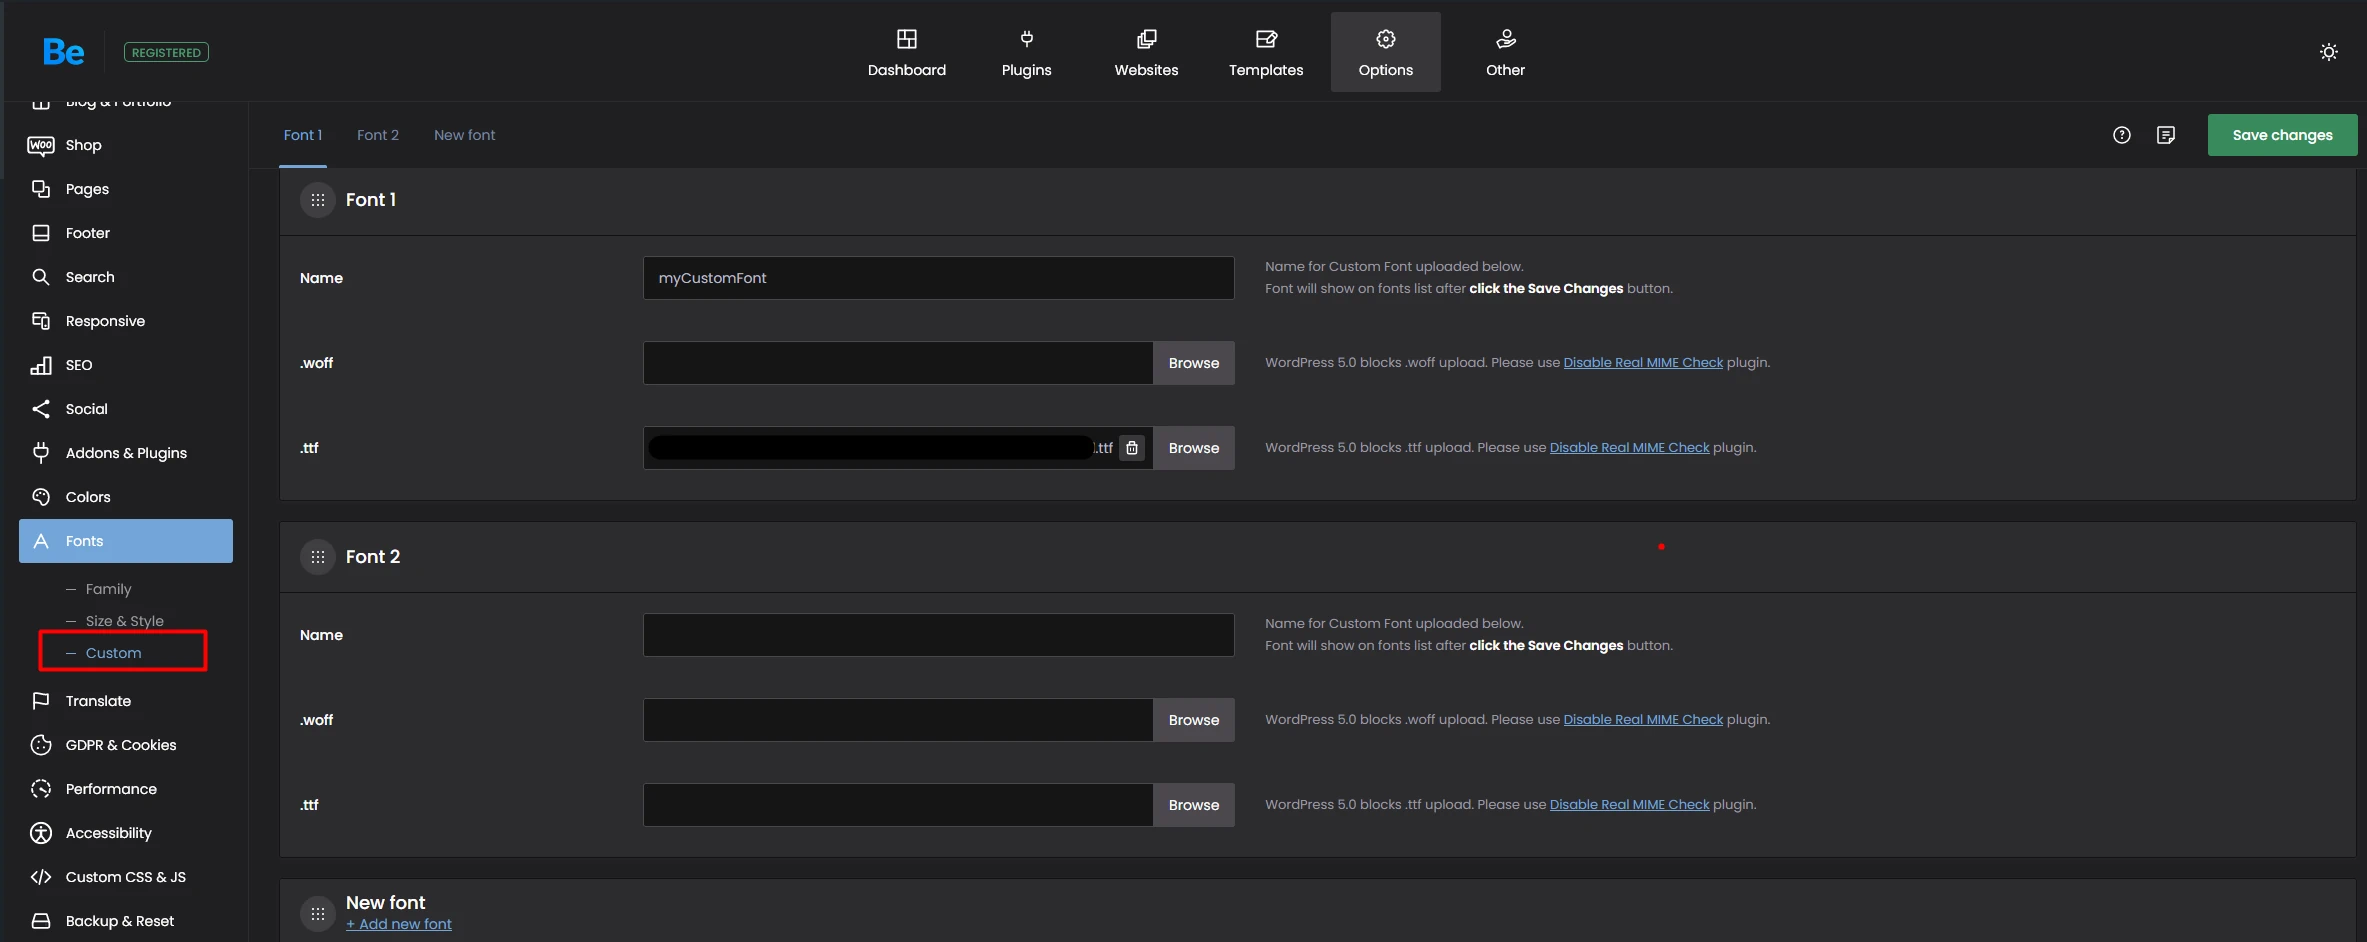
If you want to use the custom fonts option and upload the font files directly onto your server, then please follow this tutorial.
Get the fonts
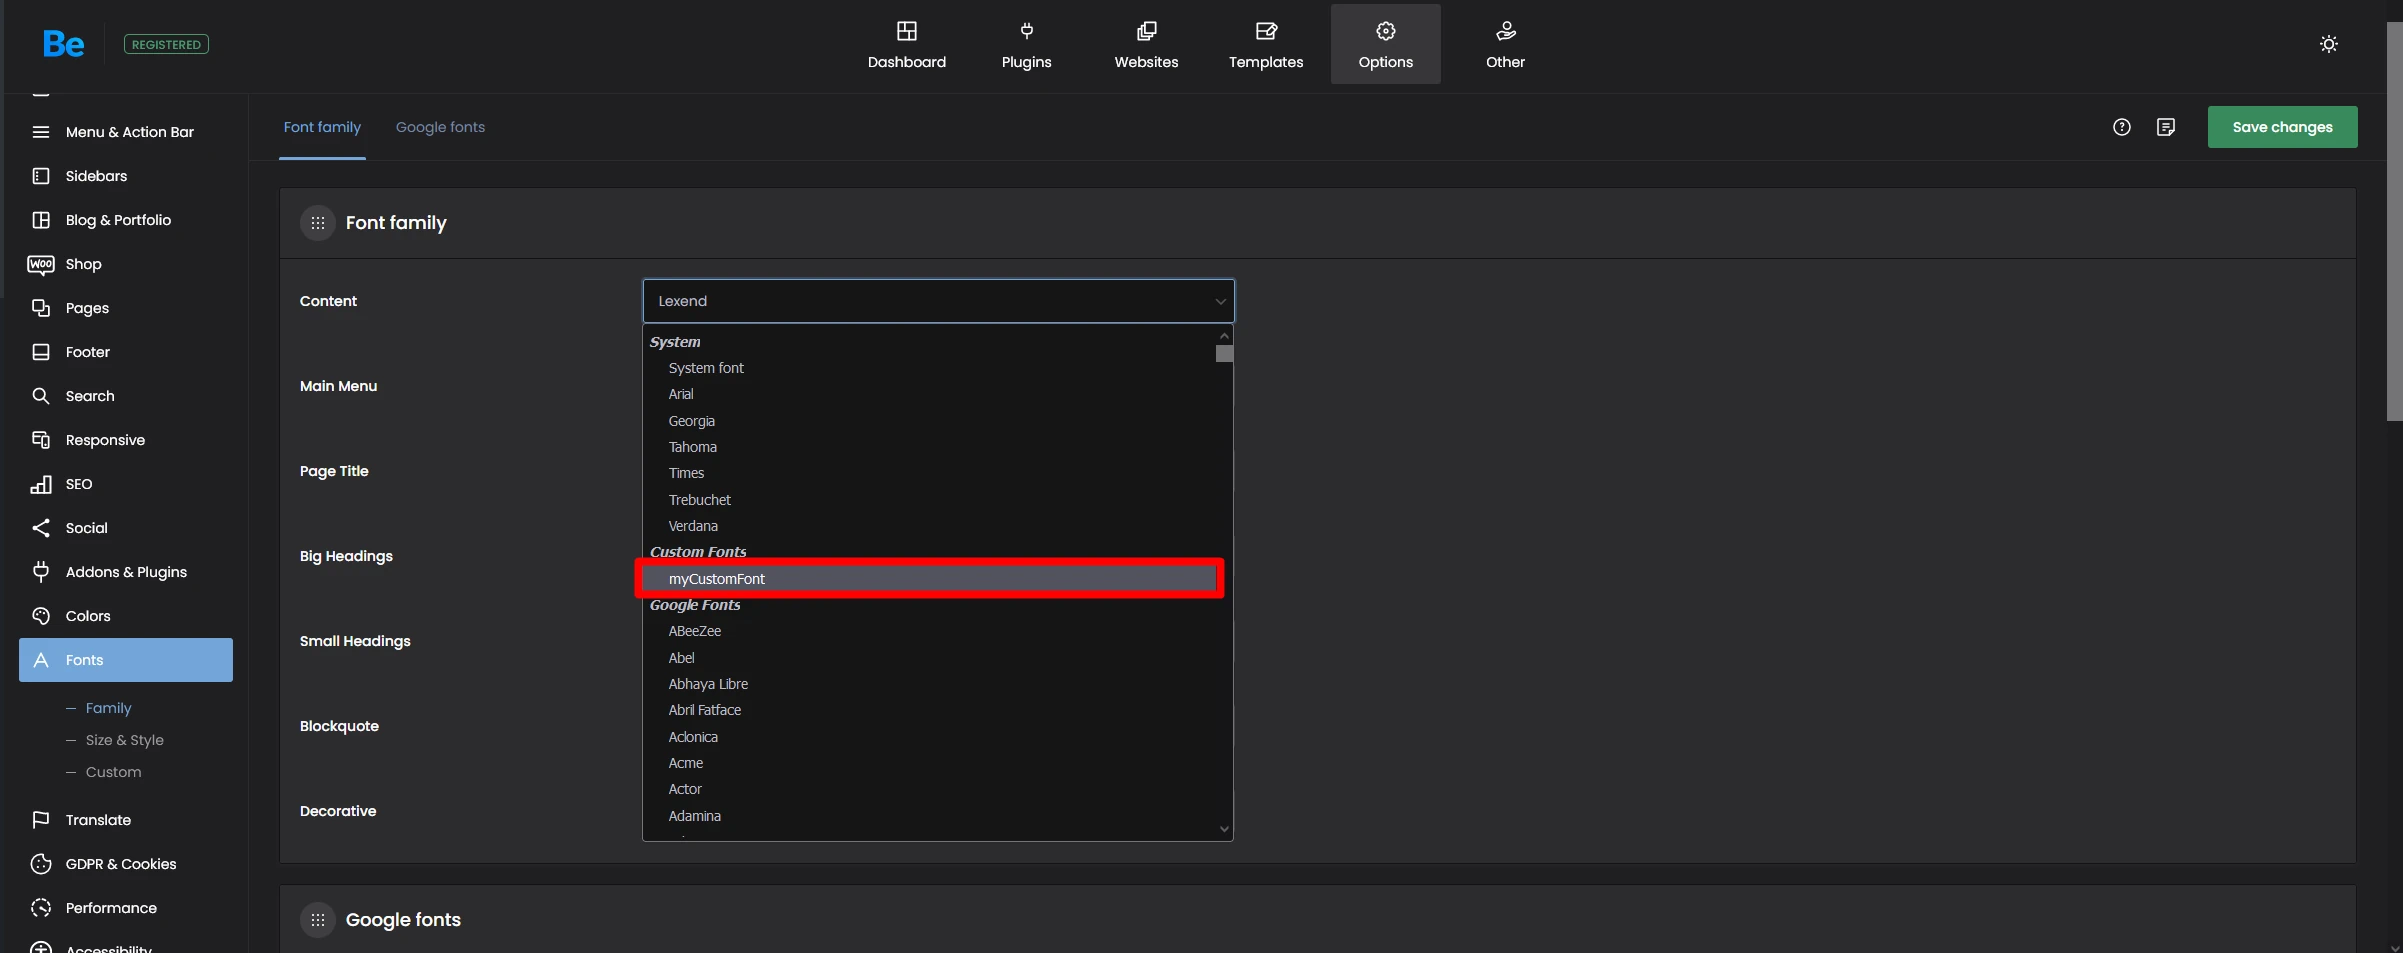
Most of the fonts in Theme Options > Fonts > Family are loaded from the Google Fonts API. If you do not want to load the fonts from the CDN, then you can download them from google and upload them to your media library.
For this tutorial, we will download these fonts from Google.
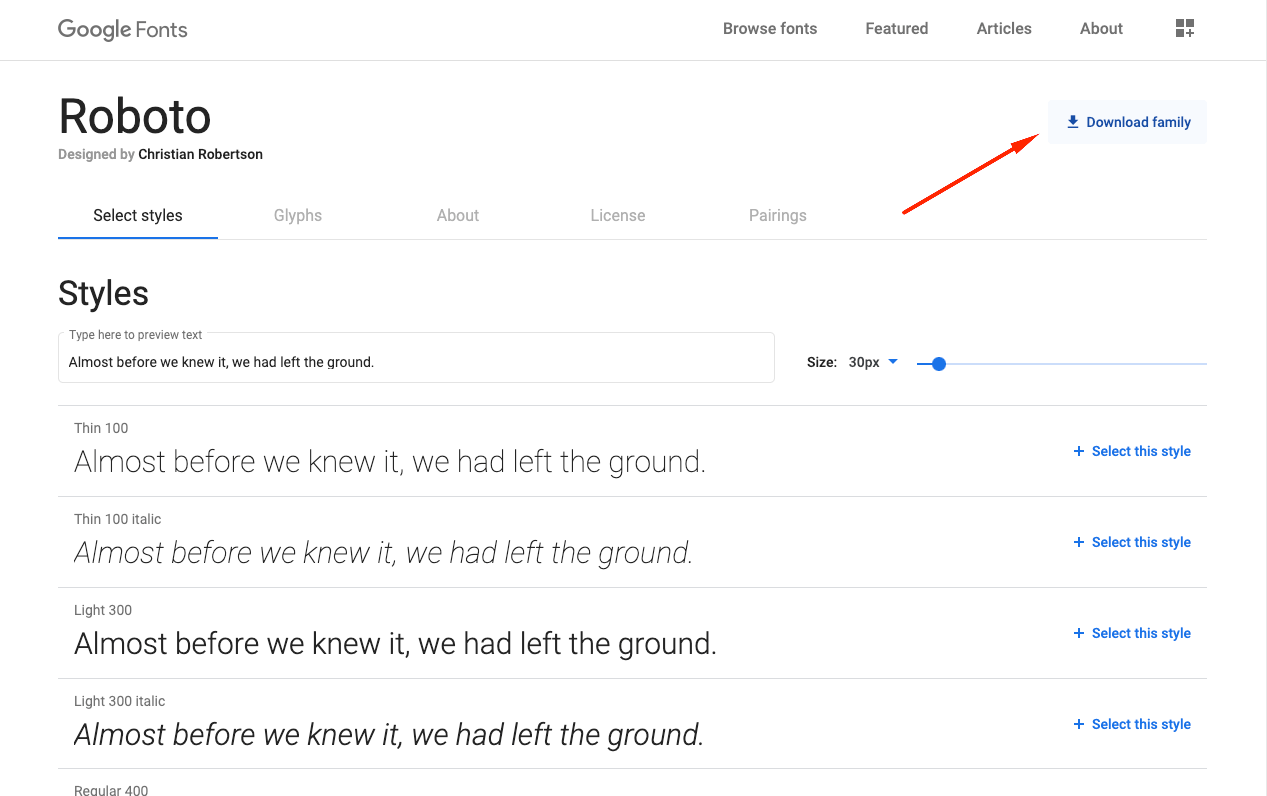
Choose a font you like. We have chosen the Roboto font.
Click the "Download family" button to get the full package.
Filetypes .ttf .woff
The font will be downloaded as a .ttf filetype. It is not a good practice to use this font on the web, WordPress will also block the upload of this font type. If you want to use .ttf format, then you will need to download and activate the Disable real MIME check plugin. Remember to disable this plugin after you upload the file.
Better use .woff
The font type we recommend is .woff. You will upload it with no problems into WordPress. To convert a .ttf into a .woff file, you need to go to this page: https://www.fontsquirrel.com/tools/webfont-generator
Use the OPTIMAL setting.
Click on the checkbox that says "agreement" and upload the .ttf file.
Then download the font by clicking the "DOWNLOAD YOUR KIT" button.


